
All
Ai Content Generator
Ai Picture
Tell Your Story


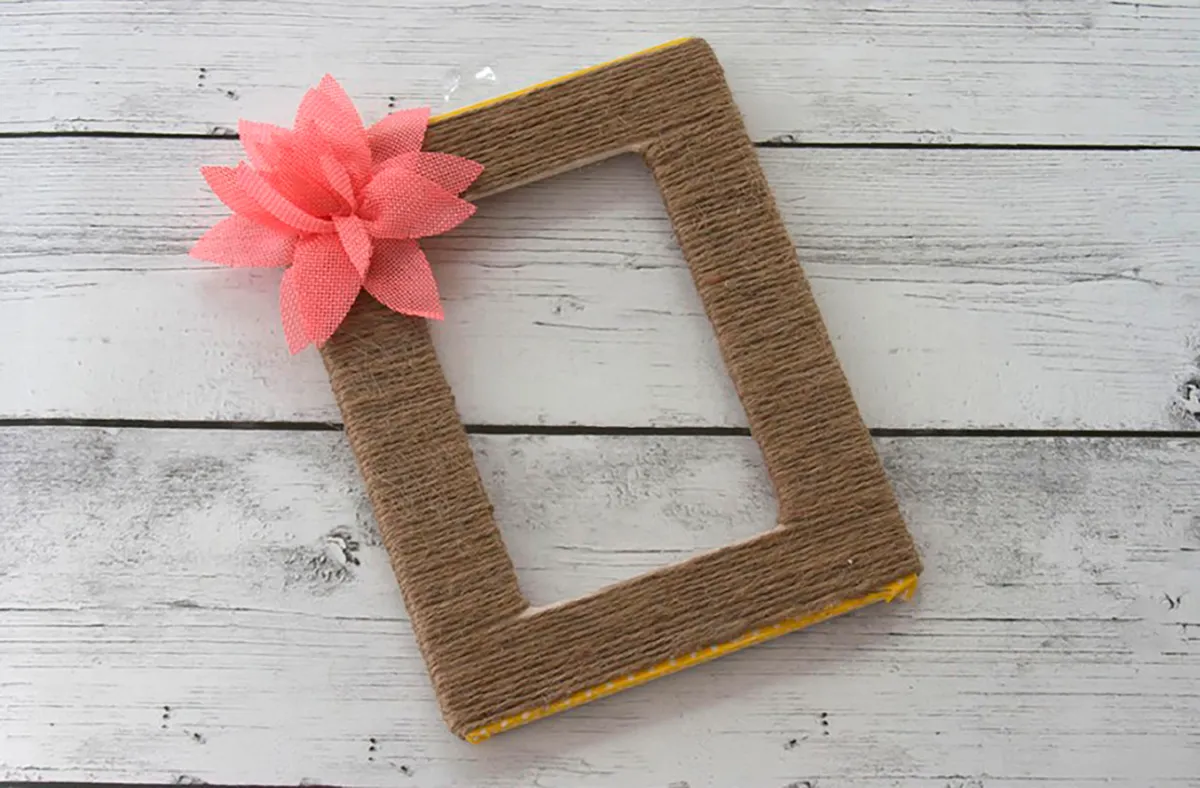
Crafting Memories: A Step-by-Step Guide to Making Your Own Picture Frame
Creating a DIY picture frame can be a fun and rewarding project. Here's a simple guide to help you make your own picture frame:
Materials:
- Wood pieces (you can use pine, cedar, or any other wood of your choice)
- Saw
- Sandpaper
- Wood glue
- Clamps
- Wood stain or paint (optional)
- Varnish or sealant (optional)
- Picture frame hangers or sawtooth hangers
- Picture or photo to frame
Instructions:
- Measure and Cut:
- Measure the dimensions of your picture or photo. Based on these measurements, cut four pieces of wood to create the frame. Remember to cut two pieces for the width and two pieces for the height, ensuring that the corners will meet at right angles.
- Sand the Edges:
- Use sandpaper to smooth the edges of each cut piece. This will give your frame a polished and professional look.
- Create Mitered Corners:
- If you want mitered corners for a seamless look, cut each end of the wood pieces at a 45-degree angle. Make sure the angles match when assembling the frame.
- Dry Fit the Frame:
- Before applying glue, dry fit the frame to ensure that all pieces align properly and the corners fit together snugly.
- Apply Wood Glue:
- Apply wood glue to the mitered corners or the ends of the cut pieces. Join the pieces together to form the frame.
- Use Clamps:
- Secure the glued corners using clamps. Wipe off any excess glue that may squeeze out. Allow the frame to dry according to the glue manufacturer's instructions.
- Stain or Paint (Optional):
- If desired, you can stain or paint the frame to match your decor. Apply the stain or paint evenly and let it dry completely.
- Apply Varnish or Sealant (Optional):
- For added protection and a finished look, you can apply a clear varnish or sealant. Allow it to dry completely before proceeding.
- Attach Hangers:
- Attach picture frame hangers or sawtooth hangers to the back of the frame. Make sure they are evenly spaced and securely attached.
- Insert Picture:
- Once the frame is ready, insert your picture or photo. You can use a clear glass or acrylic sheet to protect the picture if you'd like.

Now you have your DIY picture frame ready to display your favorite memories or artwork. Customize the frame to suit your style and preferences.
Related Posts
© 2025 Invastor. All Rights Reserved
User Comments