
Ai Content Generator
Ai Picture
Tell Your Story


Mastering the Art: A Guide to Painting Air Dry Clay
Painting air dry clay is a fun and creative process that allows you to add color and personality to your clay creations. Here's a step-by-step tutorial on how to paint air dry clay:
Materials Needed:
- Air dry clay
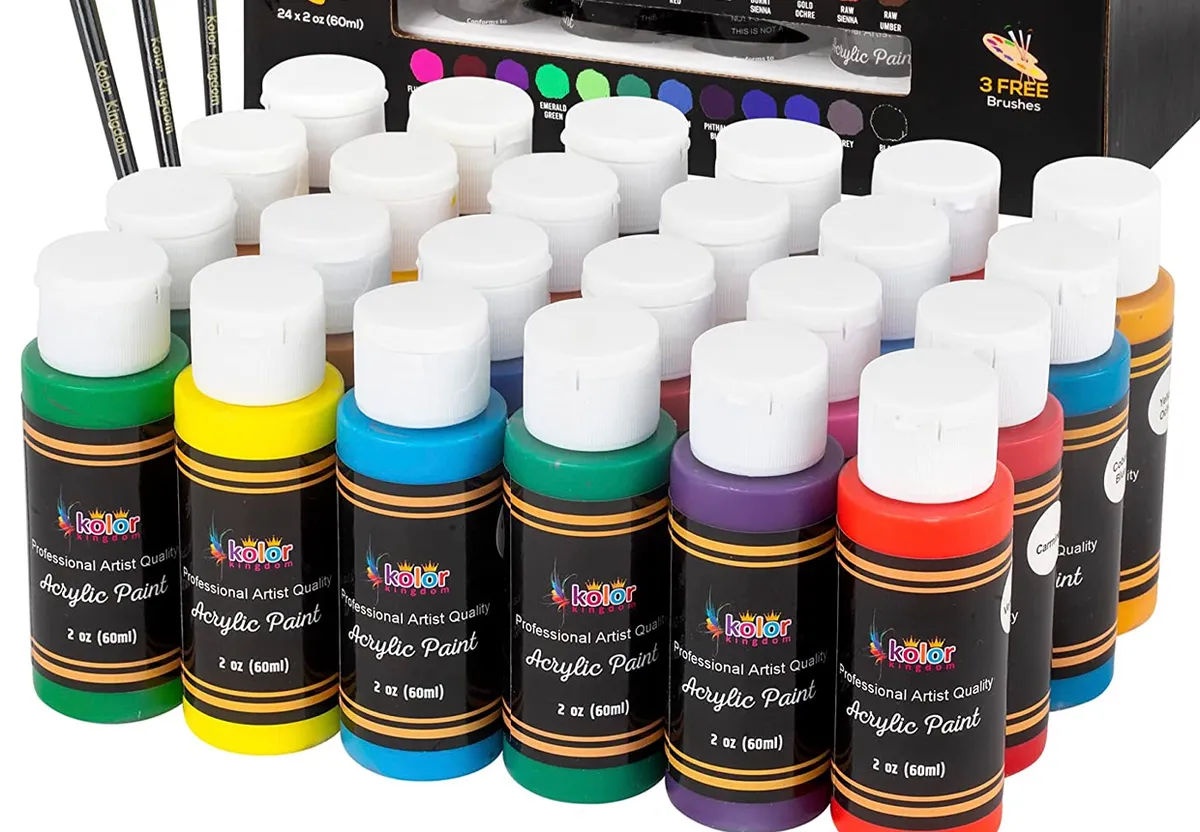
- Acrylic paints
- Paintbrushes of various sizes
- Water
- Palette or disposable plate
- Clear acrylic sealer (optional)
Step 1: Prepare Your Clay
Make sure your air dry clay creation is completely dry before you start painting. Depending on the thickness of the clay and the humidity of your environment, this could take anywhere from 24 hours to several days.
Step 2: Choose Your Paints
Acrylic paints work best for painting air dry clay. They are vibrant, durable, and adhere well to the surface. Choose the colors you want to use for your project. You can mix colors on a palette to create custom shades.
Step 3: Set Up Your Workspace
Cover your work surface with newspaper or a plastic tablecloth to protect it from paint spills. Lay out your paints, brushes, and clay creation within easy reach.
Step 4: Prime Your Clay (Optional)
If you want to ensure better paint adhesion and a smoother finish, you can prime your air dry clay before painting. To do this, simply apply a thin layer of acrylic gesso or white acrylic paint to the surface of your clay and let it dry completely before proceeding.
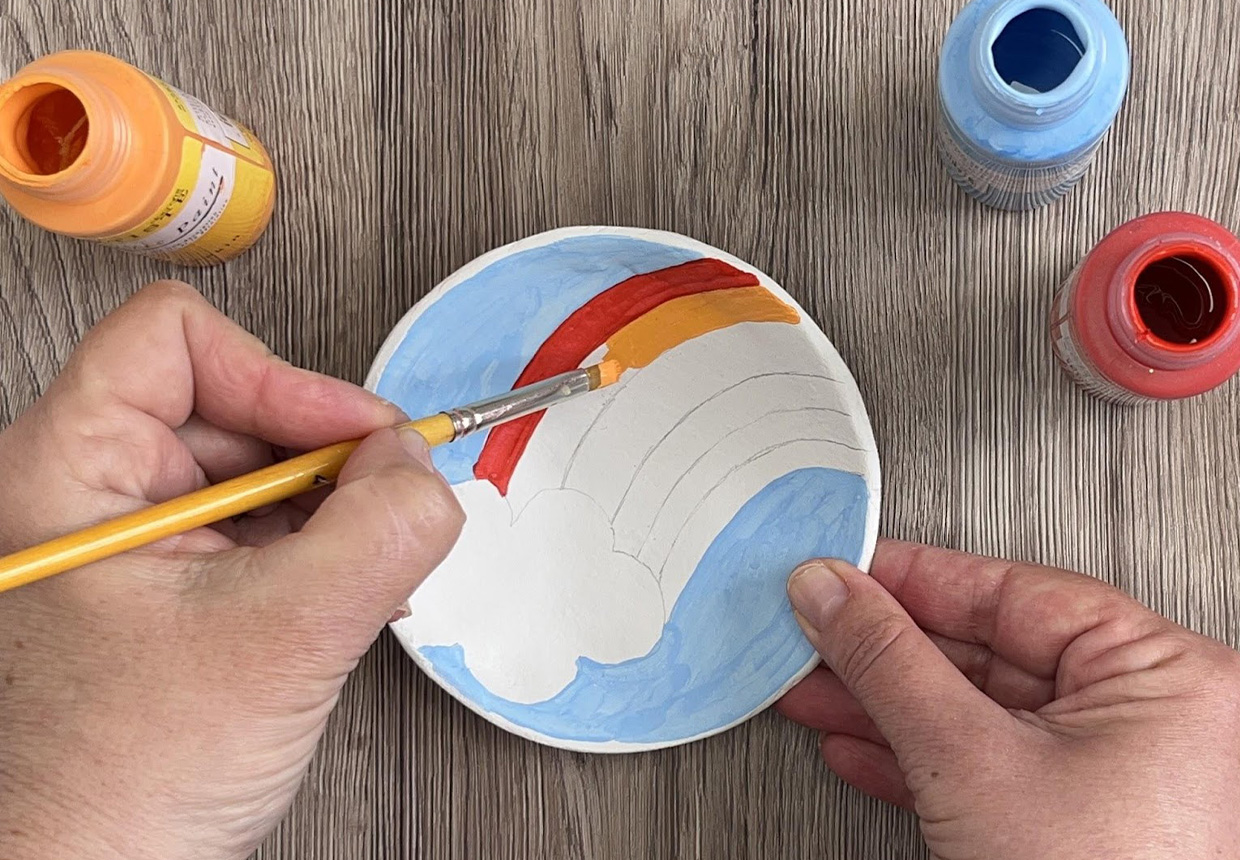
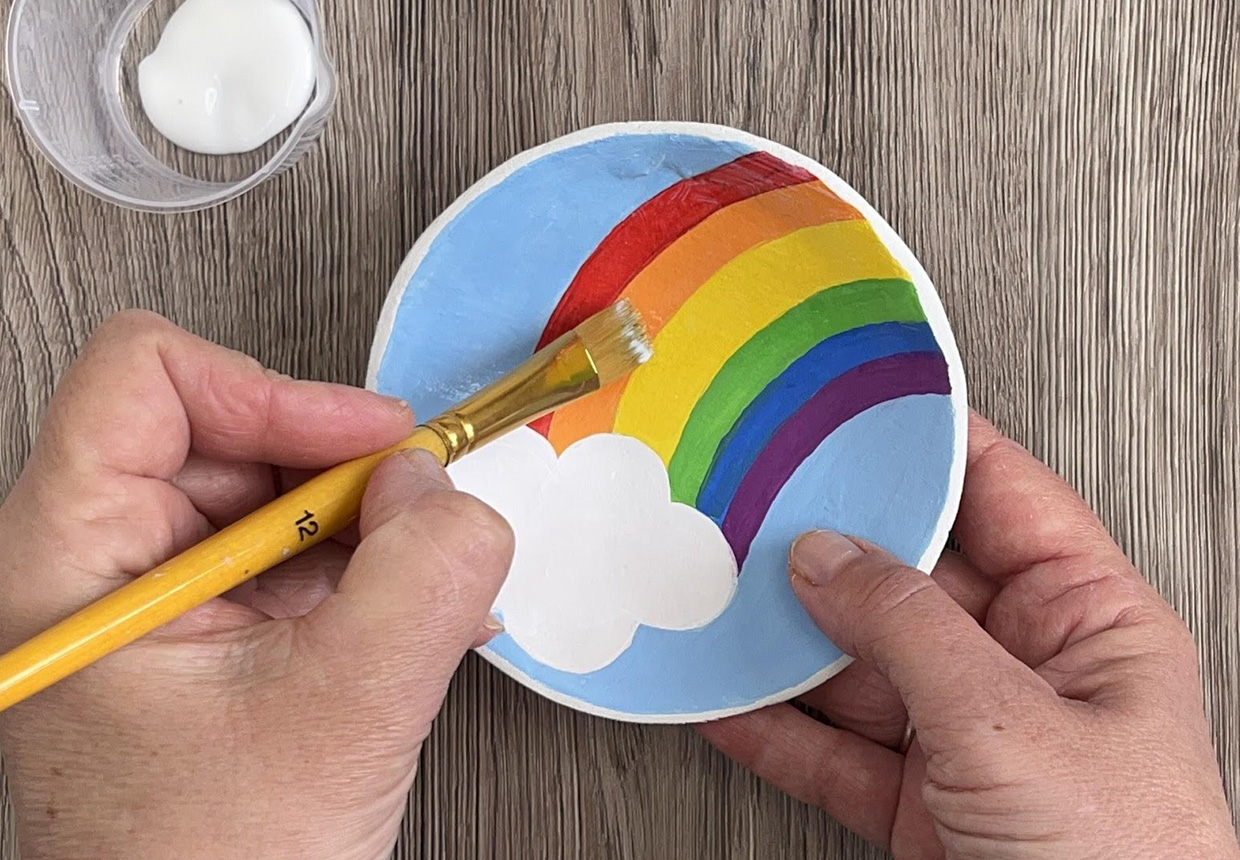
Step 5: Start Painting
Dip your paintbrush into the desired color of paint and begin applying it to your clay creation. Start with broad strokes to cover larger areas, then use smaller brushes for detailing. Allow each layer of paint to dry completely before adding additional layers or details.
Step 6: Add Details
Once the base coat is dry, you can add details and accents to your clay creation using smaller brushes and different colors of paint. Take your time and work carefully to achieve the desired look.
Step 7: Let Dry
Allow your painted clay creation to dry completely before handling it or applying any additional finishes. This may take a few hours to overnight, depending on the thickness of the paint layers.
Step 8: Optional Sealing
If you want to protect your painted clay creation from dust, moisture, and general wear and tear, you can apply a clear acrylic sealer. Make sure your paint is completely dry before applying the sealer, and follow the manufacturer's instructions for best results.
Tips:
- Clean your brushes with water between color changes to prevent colors from mixing.
- Experiment with different brush techniques, such as dry brushing or stippling, to achieve different effects.
- If you make a mistake, don't worry! You can let the paint dry and then paint over it with a new color.
- Allow your painted clay creation to dry completely before displaying or using it.
By following these steps and tips, you can create beautifully painted air dry clay creations to showcase or give as gifts. Enjoy the process and let your creativity shine!
Related Posts
© 2025 Invastor. All Rights Reserved
User Comments