
All
Ai Content Generator
Ai Picture
Tell Your Story


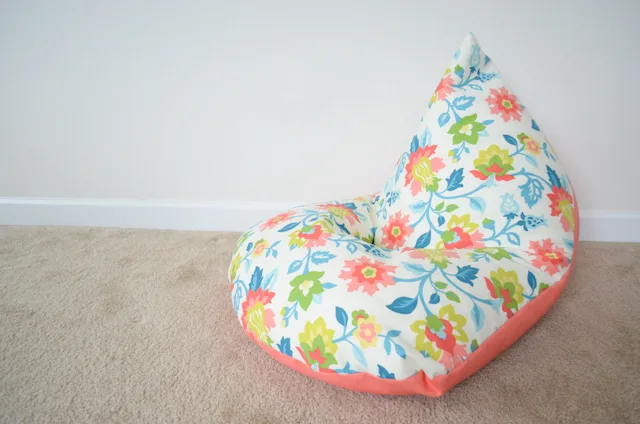
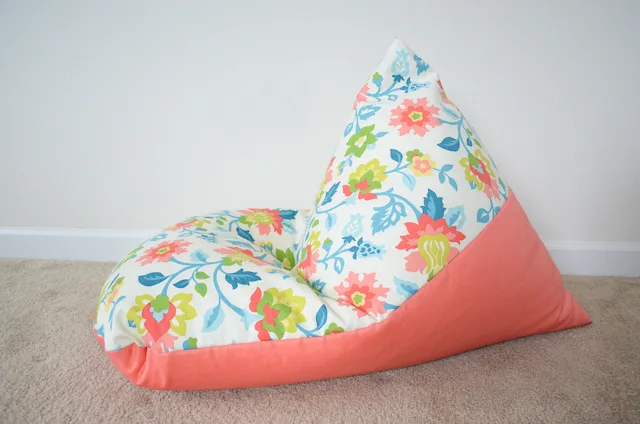
How to Make Your Own Bean Bag Chair
Making a bean bag chair can be a fun and rewarding DIY project. Here's a basic guide to help you create your own bean bag chair:
Materials:
- Fabric (preferably a durable and washable material)
- Sewing machine (or you can hand-sew if you don't have a machine)
- Thread
- Zipper
- Beans or bean bag filler
Instructions:
1. Choose Your Fabric:
- Select a durable and washable fabric for your bean bag chair. Common choices include canvas, denim, or upholstery fabric.
2. Determine Size and Shape:
- Decide on the size and shape of your bean bag chair. Common dimensions for a standard bean bag chair are about 4 to 6 feet in diameter.
3. Cut the Fabric:
- Cut two identical shapes for the top and bottom of the bean bag chair. These can be circles, squares, or any desired shape. Add seam allowance to your measurements.
4. Sew the Zipper:
- If you're using a zipper to fill the bean bag easily or for easy cleaning, sew the zipper onto one of the fabric pieces. Place the zipper along the edge, leaving an opening large enough to fill the bean bag.
5. Sew the Fabric:
- Place the two fabric pieces together with the right sides facing each other. Sew around the edges, leaving the zipper side open (if you're using a zipper). Be sure to leave a small seam allowance.
6. Turn Inside Out:
- Turn the fabric inside out through the opening, so the right side of the fabric is now visible.
7. Fill the Bean Bag:
- Fill the bean bag with your chosen filling material. Beans, foam pellets, or shredded foam are common choices. Use a funnel to make this process easier.
8. Close the Bean Bag:
- If you used a zipper, close it securely. If you didn't use a zipper, you can hand-sew the opening closed using a strong and durable stitch.
9. Optional: Add a Liner:
- For added durability and ease of cleaning, you can create a liner for your bean bag chair. This is an inner bag that holds the filling, and the outer cover can be removed and washed. Follow the same steps for the liner as you did for the outer cover.
10. Enjoy Your Bean Bag Chair:
- Once your bean bag chair is filled and closed, it's ready for use. Relax and enjoy your homemade seating!
Remember to customize the instructions based on your preferences and needs. Additionally, safety should always be a priority, especially if you're making the bean bag chair for children.
Related Posts
© 2025 Invastor. All Rights Reserved
User Comments